Barrier Fence Installation Guides
Installing barrier fences effectively requires the right tools, techniques, and understanding of the specific needs for each type of fence. From safety barriers to snow fences and garden solutions, proper installation ensures long-lasting performance and optimal functionality. This guide brings together comprehensive instructions for various barrier fences. Whether you're securing a construction site, managing snowdrifts, or enhancing your garden, these step-by-step instructions will help you achieve professional results. Explore the nuances of each fence type to ensure your project is both efficient and successful.
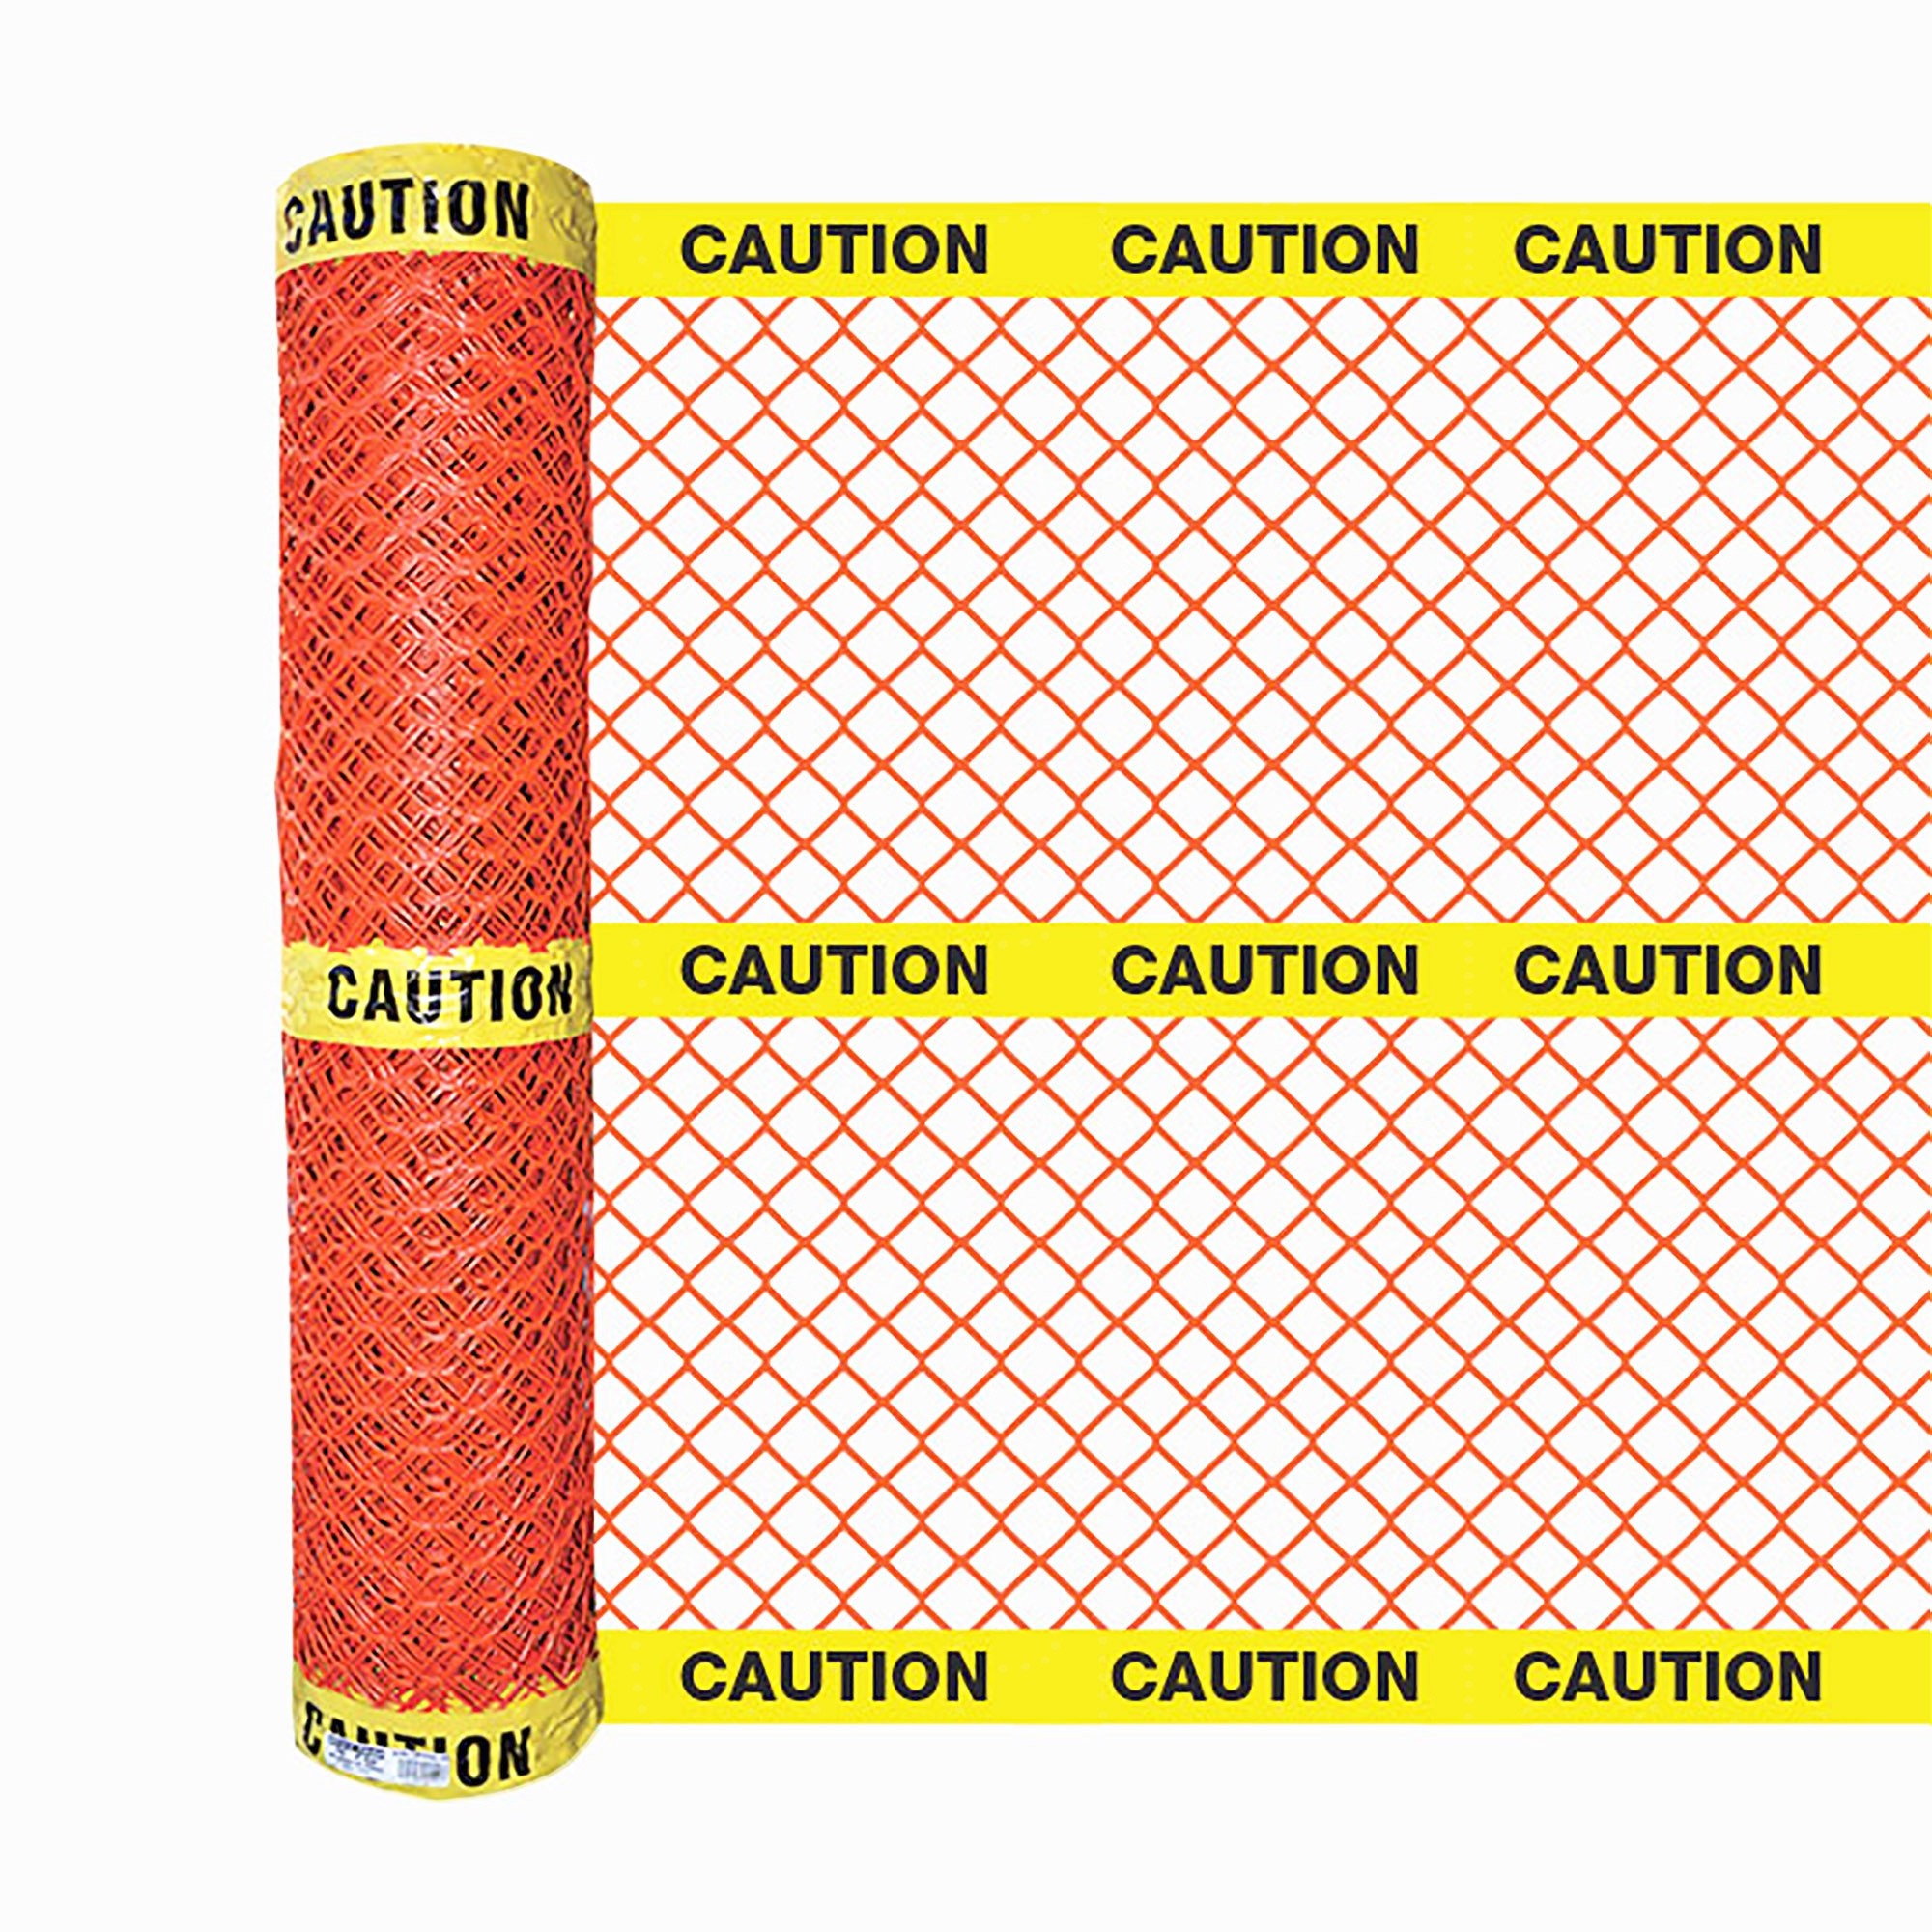
Barricade & Barrier Safety Fence
Accessories Required
- 7 steel T-Posts (minimum height of 6 feet)
- 35 locking ties, approximately 8”-10” long
Installation Instructions
- Insert the T-Posts into the ground to a depth of at least 1.5 feet. Space the posts no more than 8 feet apart.
- Use locking ties to secure the fence to the T-Posts. Place the ties at intervals of 1 foot along the post (see illustration).
- When connecting sections of fencing, overlap two strand sections from each end and weave a 1” x 2” slat through the overlapped strands.
- Ensure the fence is tensioned by hand only. Do not use mechanical tensioners, as they may damage the fence.
Mulch Film
Installation Instructions
- Roll out the Garden Mulch Film and cut it to the desired length. When overlapping sections, ensure a 4”-5” overlap to maintain proper coverage.
- For new plants, cut an X-shaped opening in the film large enough to plant through. If plants are already in place, cut an X large enough to slip the film over the plant without damaging it.
- During installation, use Fabric & Garden Staples to securely anchor each section of the Mulch Film to the soil. This ensures the film stays in place and provides effective coverage.
- This product is designed as an annual solution to control unwanted weed growth. Over time, it will naturally degrade due to microorganisms in your garden or compost area, leaving no lasting environmental impact.
For Permanent Perennial Gardens
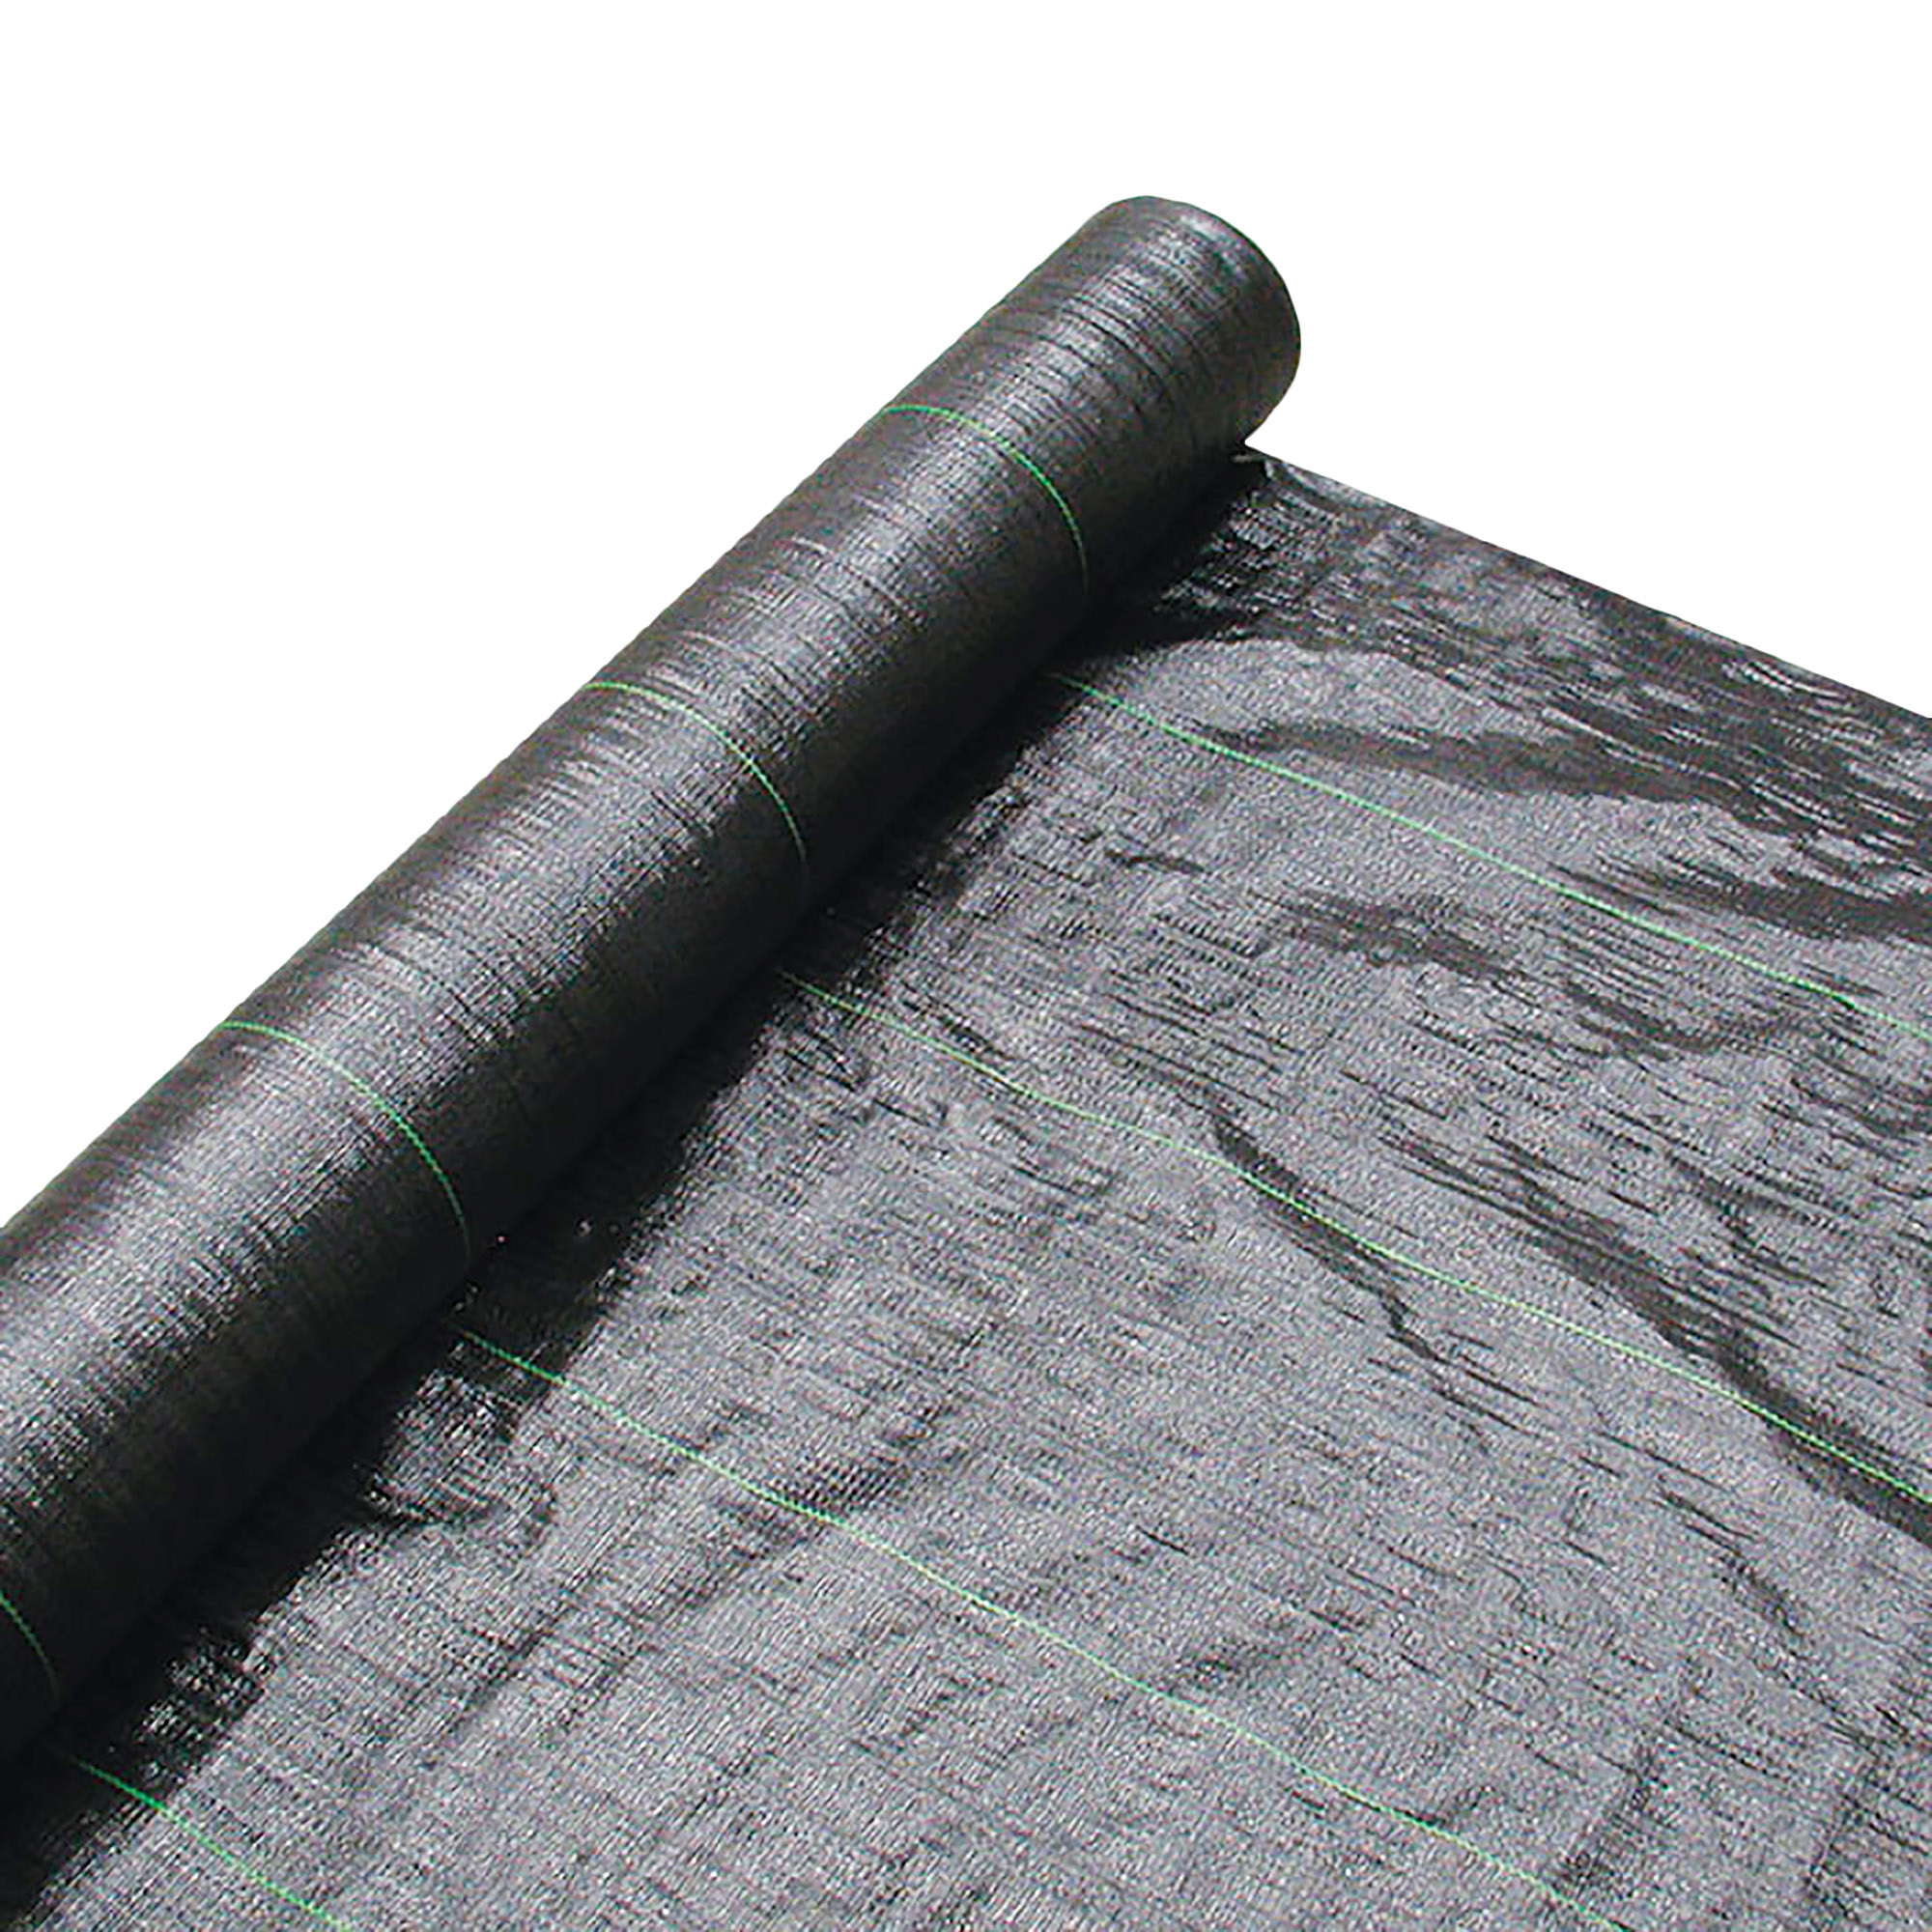
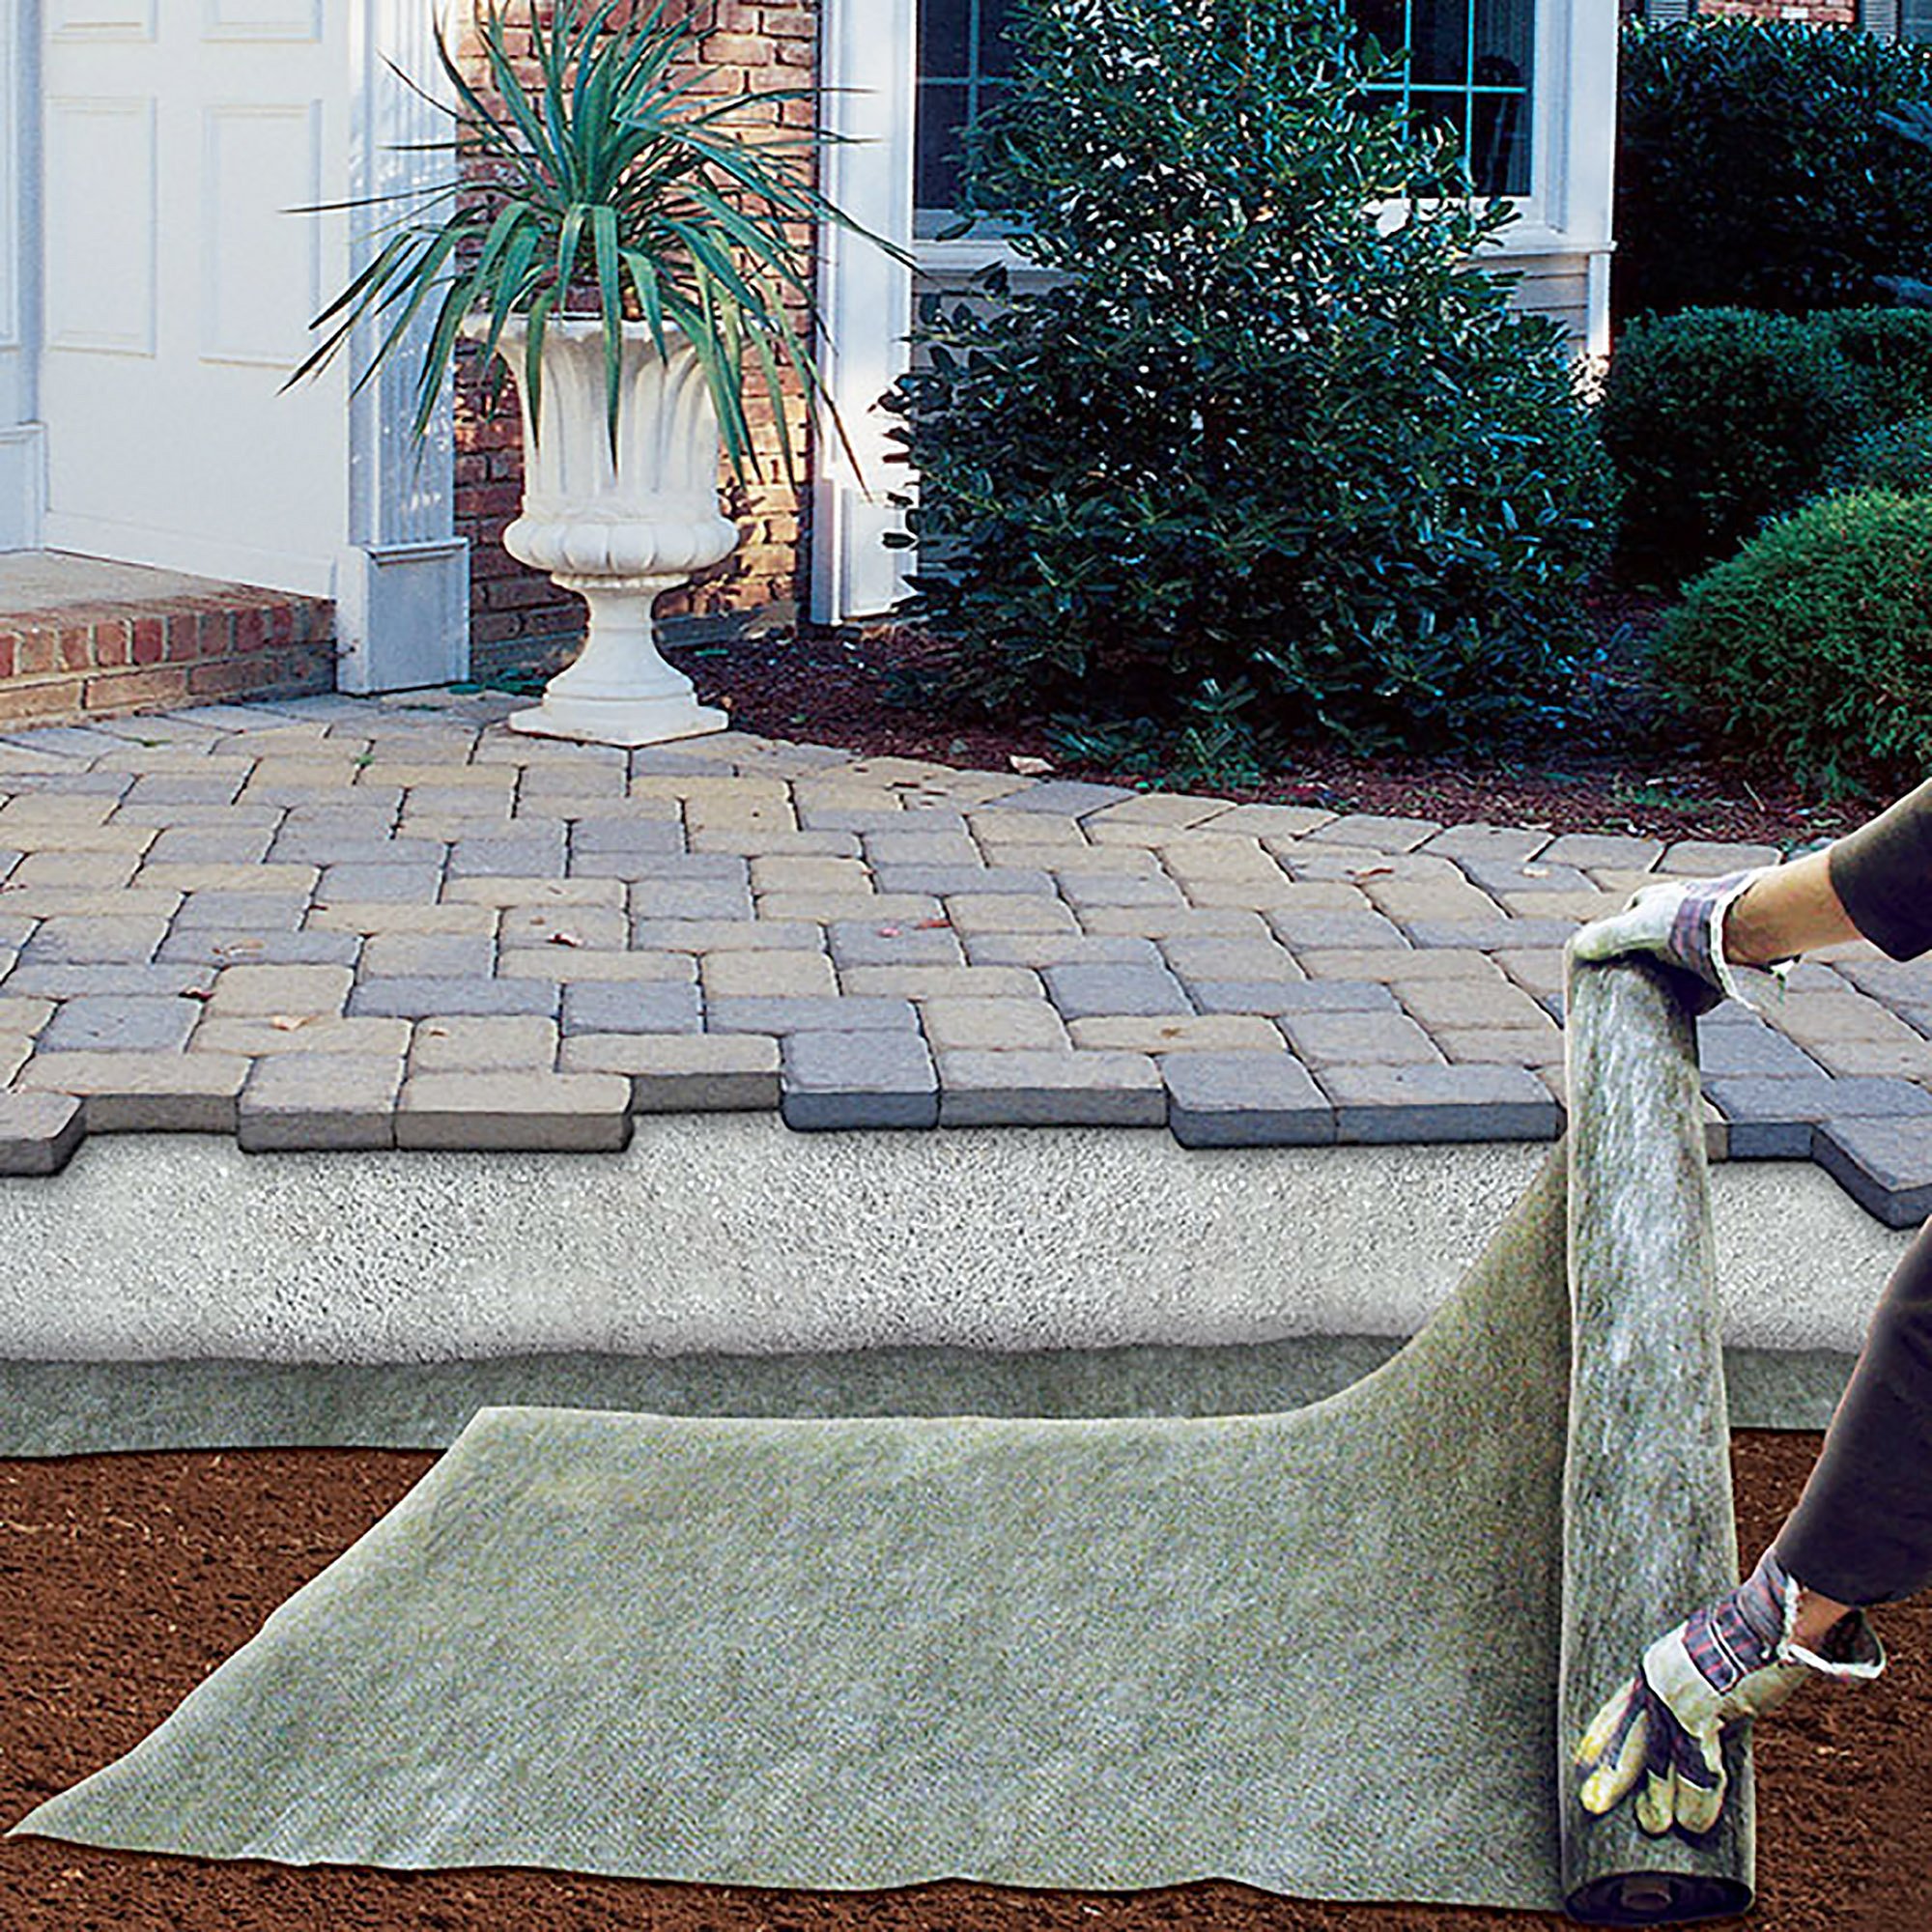
- Roll out the Hardscape Fabric and cut it to the desired length. Ensure a 7.6 cm - 12.7 cm (3 - 5 in) overlap when connecting sections.
- For new plants, cut an X-shaped opening in the fabric large enough to plant through. For existing plants, cut an X large enough to slip the fabric over the plant. For large shrubs or trees, cut a slit from the edge of the fabric to the base of the tree and slip the fabric around it.
- To prevent soil exposure from slits, overlap the slit with strips of fabric wide enough to provide a 7.6 cm - 12.7 cm (3 - 5 in) overlap on each side.
- Secure the fabric to the soil using Fabric & Garden Staples to ensure it remains firmly anchored.
- Cover the fabric with a minimum of 7.6 cm (3 in) of bark or mulch. If covering with stone, marble chips, or crushed clay, use at least 7.6 cm - 10 cm (3 - 4 in) of material and include smaller-sized pieces to fill gaps. Proper coverage protects the fabric from UV rays for long-lasting performance.
For Hardscape Projects
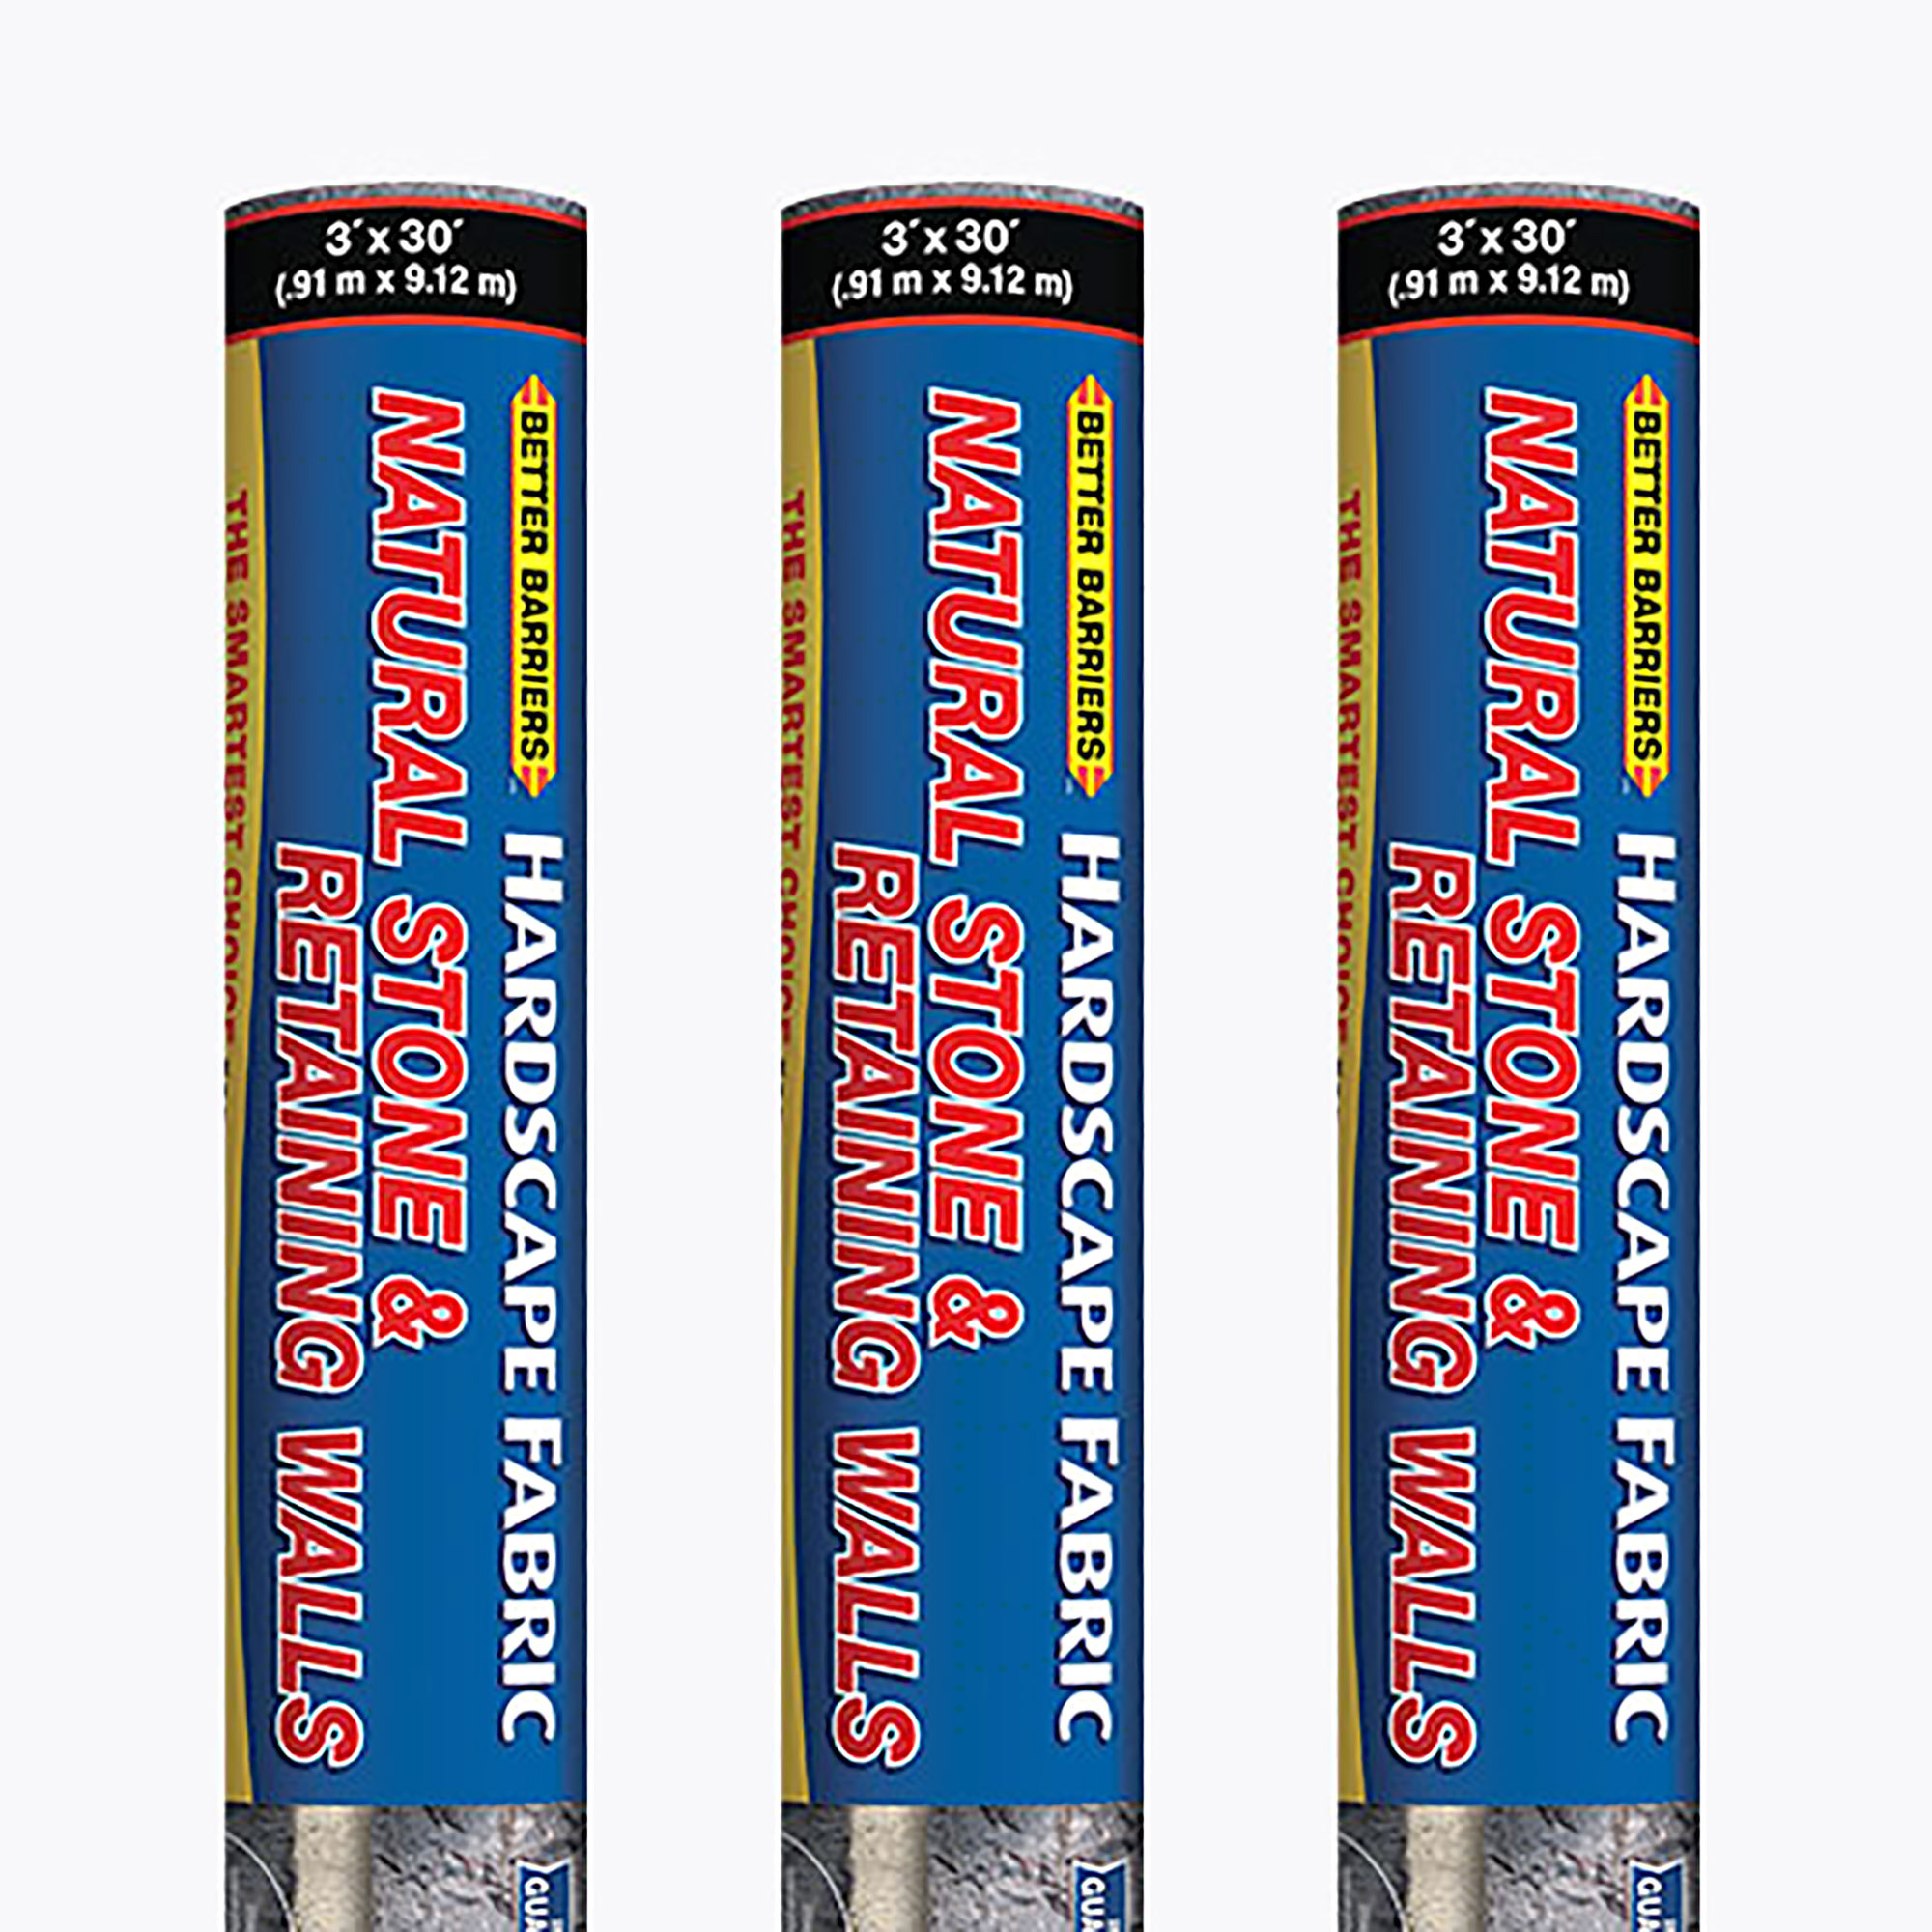
- Roll out the Hardscape Fabric on prepared soil and cut it to the required length. Overlap sections by 7.6 cm - 12.7 cm (3 - 5 in).
- Secure each section of fabric to the soil using Fabric & Garden Staples for a stable foundation.
- Apply the appropriate aggregate profile for your project, finalize preparation, and complete the installation.
Landscaping Fabric
Installation Instructions
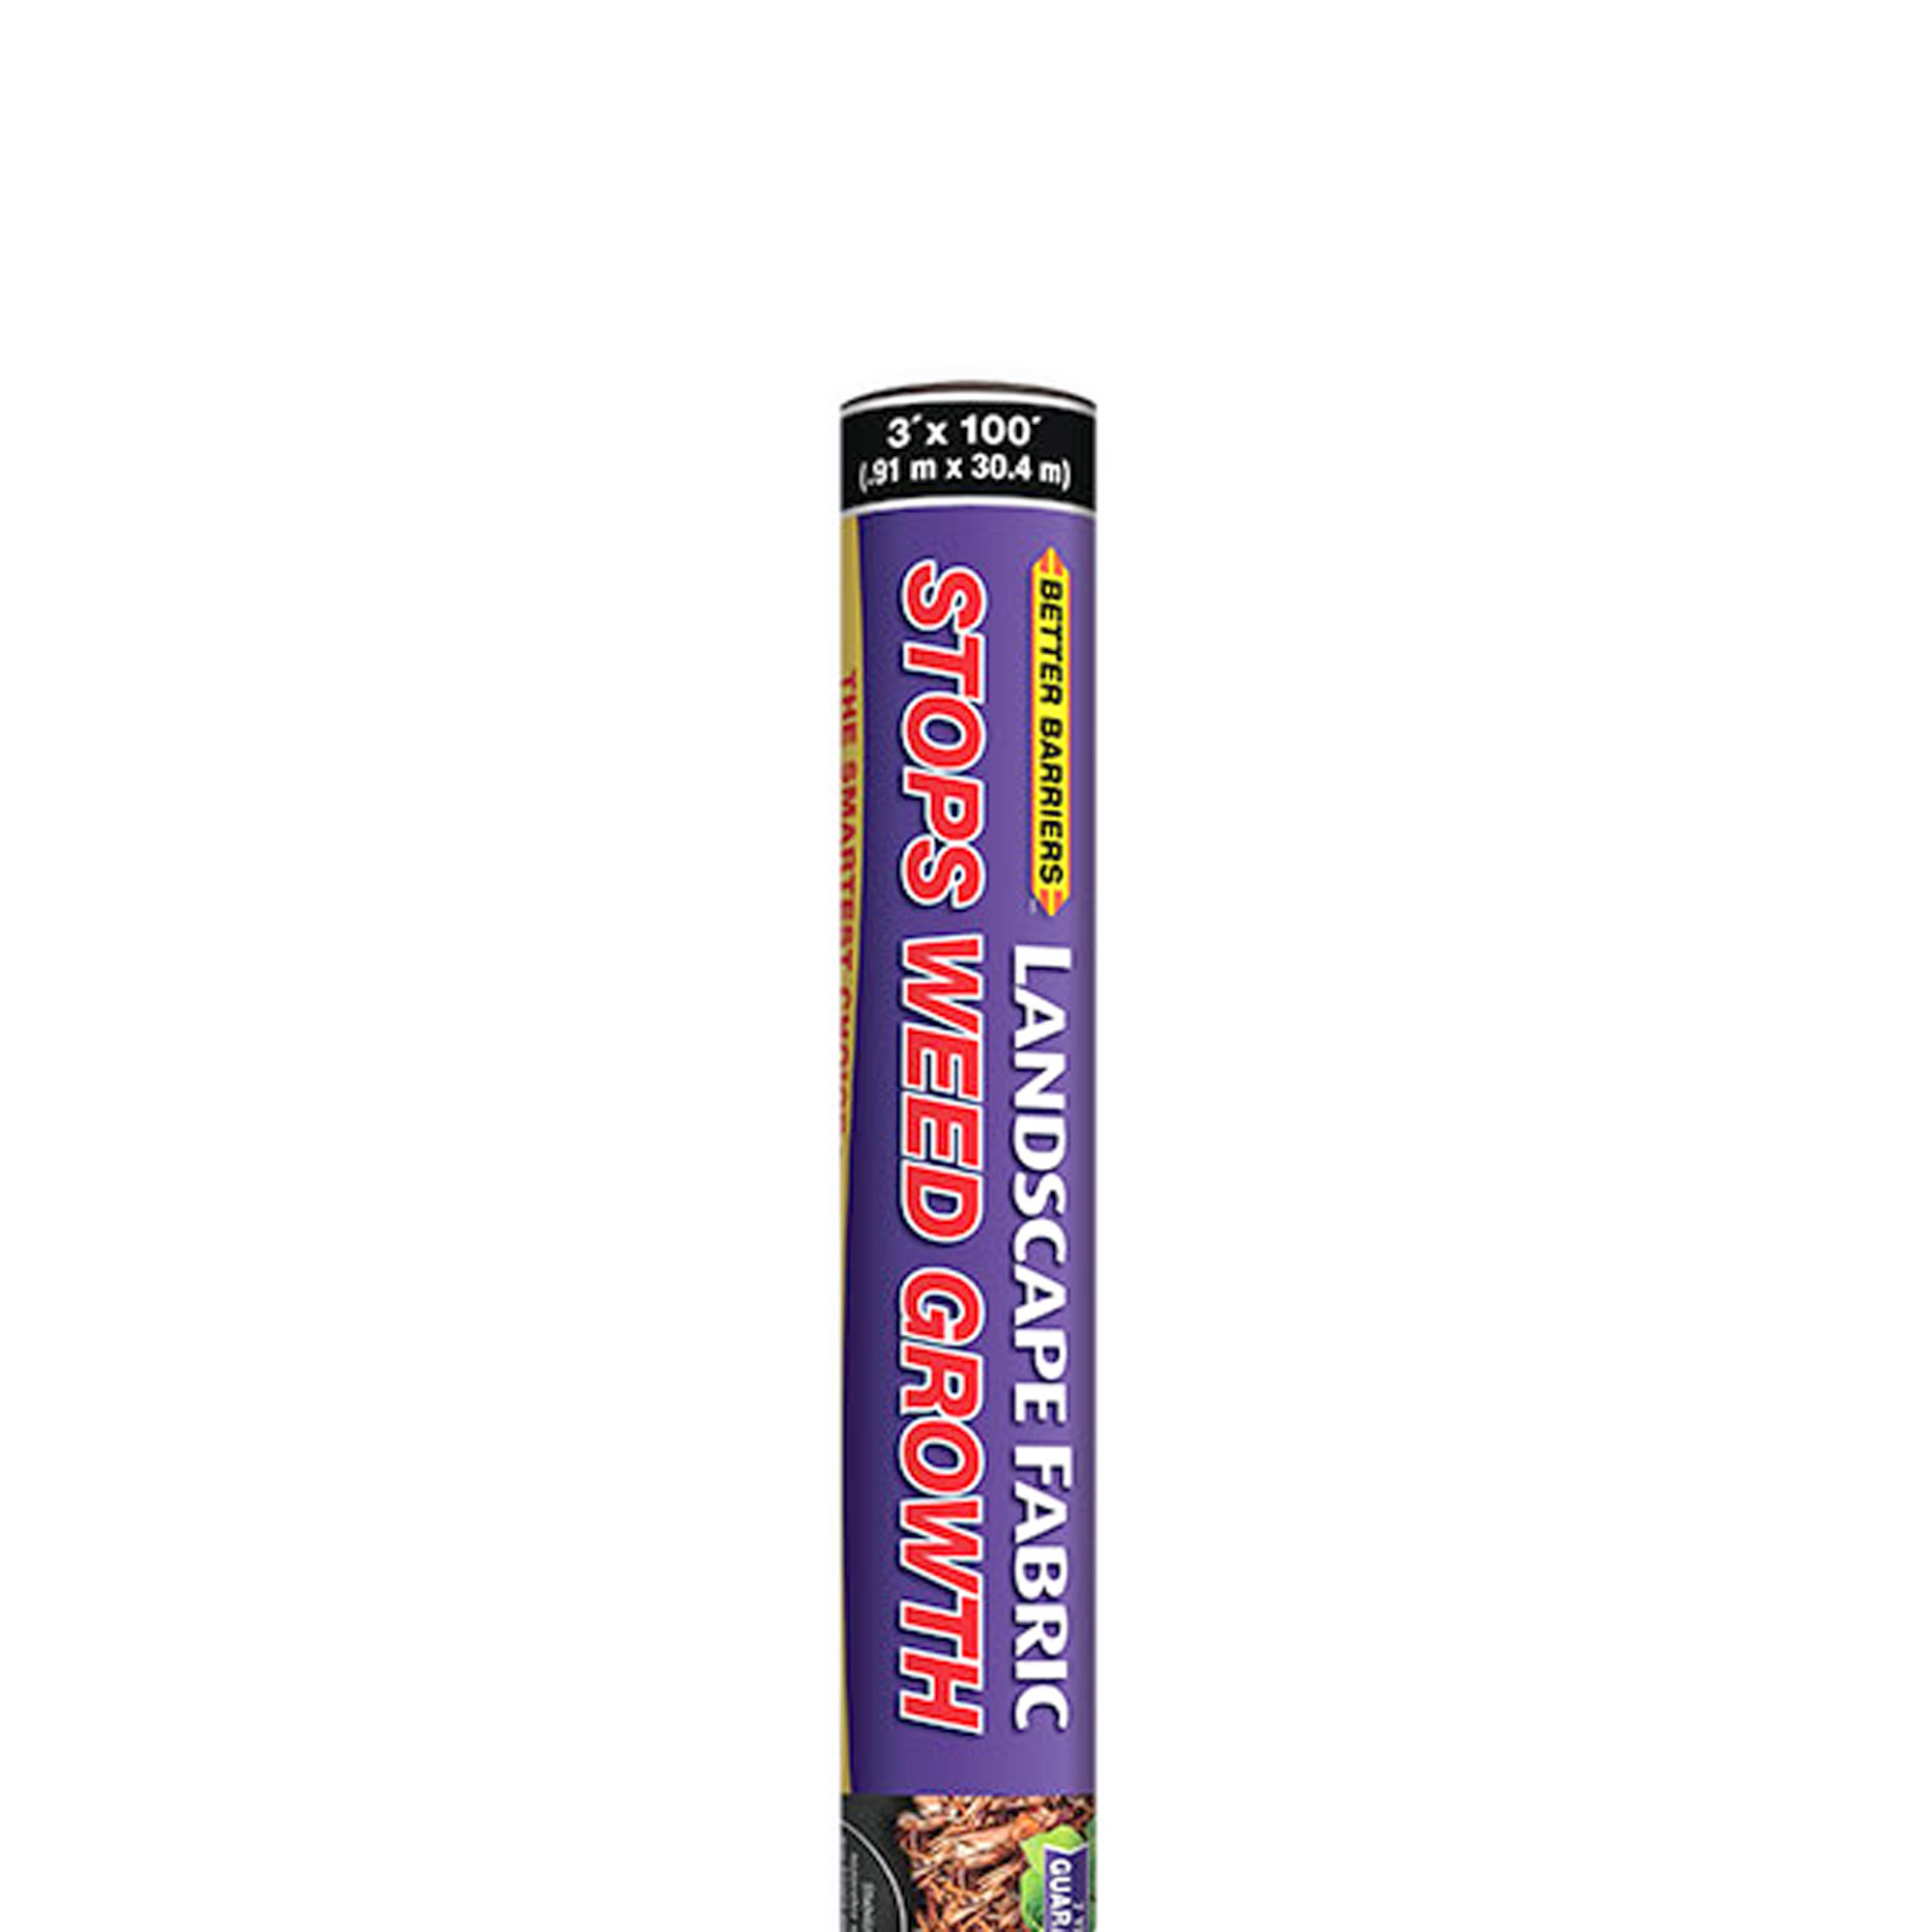
- Roll out the Landscape Fabric and cut it to the required length. Overlap sections by at least 7.6 cm - 12.7 cm (3 - 5 in) for proper coverage.
- For new plants, cut an X-shaped opening in the fabric large enough to plant through. For existing plants, cut an X large enough to slip the fabric over the plant. For large shrubs or trees, cut a slit from the edge of the fabric to the base of the tree and wrap the fabric around the base.
- To prevent soil exposure from slits, overlap the slit with strips of fabric wide enough to provide a 7.6 cm - 12.7 cm (3 - 5 in) overlap on each side.
- Secure the fabric firmly to the soil using Fabric & Garden Staples to ensure it stays in place.
- Cover the fabric with a minimum of 7.6 cm (3 in) of bark or mulch. If using stone, marble chips, or crushed clay, apply at least 7.6 cm - 10 cm (3 - 4 in) of material, ensuring smaller pieces fill any gaps. Proper coverage protects the fabric from UV rays, extending its lifespan.
- If water puddles on the fabric, mix a solution of 3 tablespoons (53 mL) of dish detergent with 4.5 L (1 gallon) of water. Spread this solution over 137 m² (450 ft²) of fabric to quicken water penetration. This is safe for plants.
Snow Fence
Accessories Required
- 7 steel T-Posts (minimum height of 6 feet)
- 7 wooden slats (1” x 2” x 4’)
- 35 locking ties, approximately 8”-10” long
Installation Instructions
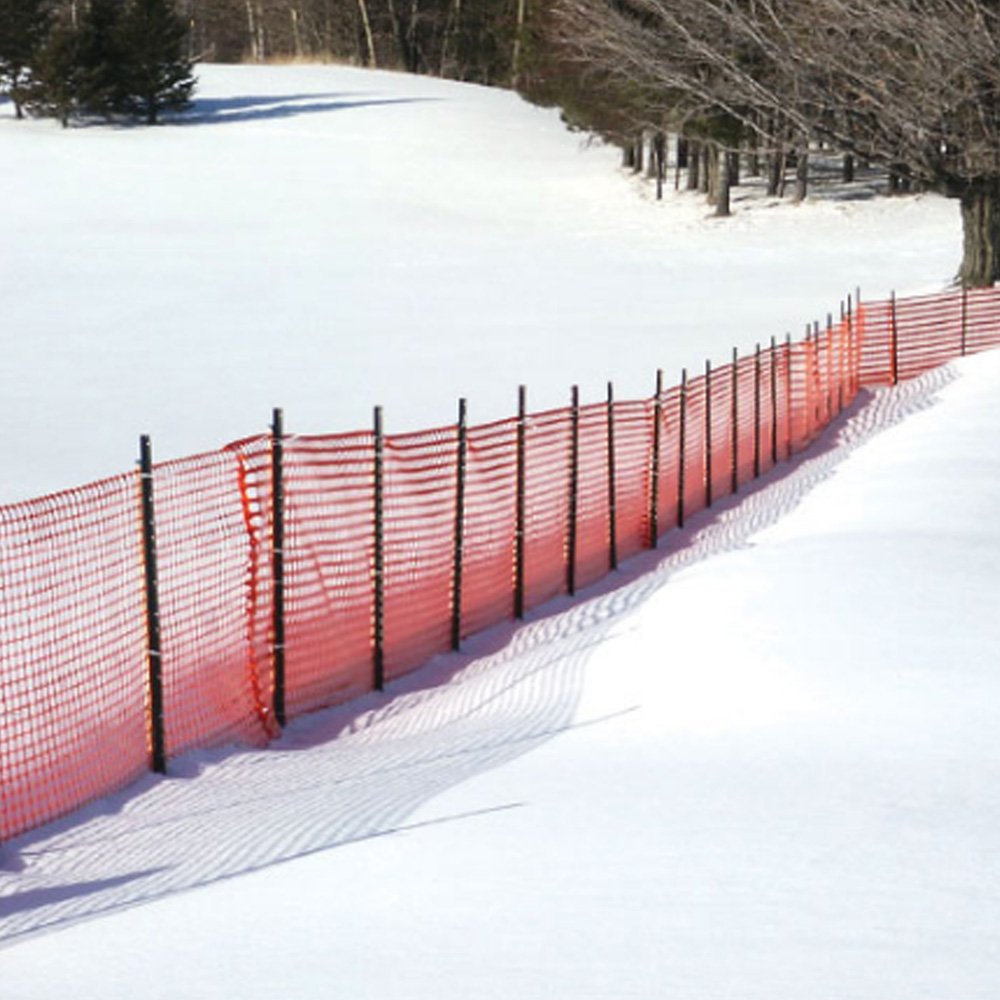
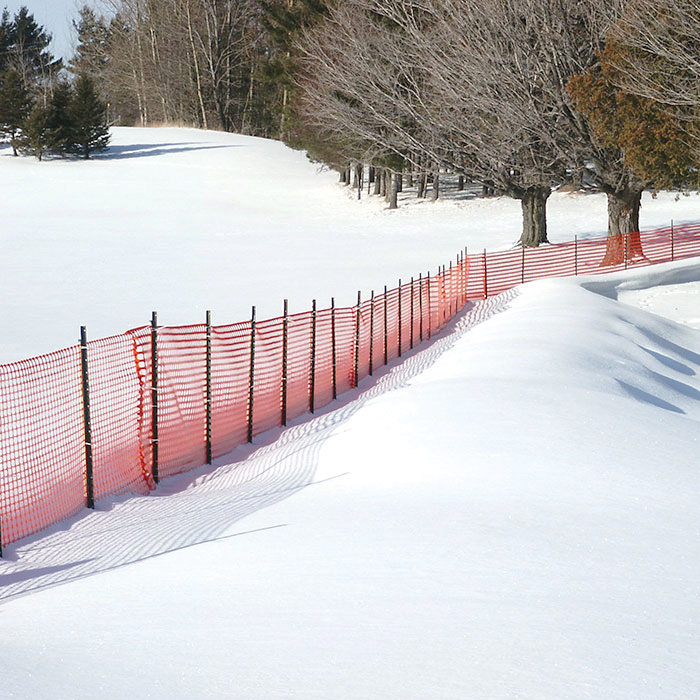
- Determine the prevailing wind direction in your area and align the fence perpendicular to it for optimal drift control. Install the fence at least 60 feet away from the area you wish to keep drift-free.
- Insert the T-Posts into the ground to a depth of at least 1.5 feet. Space the posts no more than 8 feet (2.4m) apart.
- Sandwich the vertical strands of the fence between the flat side of the T-Post and a 1” x 2” wooden slat.
- Secure the wooden slat, fence, and T-Post together using locking ties spaced at 1-foot intervals (see illustration).
- To start the next roll, overlap at least 6 inches of fence at the last T-Post. Sandwich the two layers of fence as described in step 3.
- Tension the fence by hand only. Do not use mechanical tensioners, as they may damage the fence.
- Leave a 6-inch gap between the ground and the bottom of the fence to allow for better drift control. This gap will help create a longer and higher drift, significantly improving the fence's effectiveness over time.
Contact Us
If you have questions about selecting the right barrier fence or installation techniques or need additional information about our products, our expert team is here to help! We are committed to providing excellent customer service and ensuring you have all the resources you need for a successful Snow Fence installation that will survive even the harshest winters. Contact Us today!
Contact Us
