5 Steps to Laying Landscaping Fabric
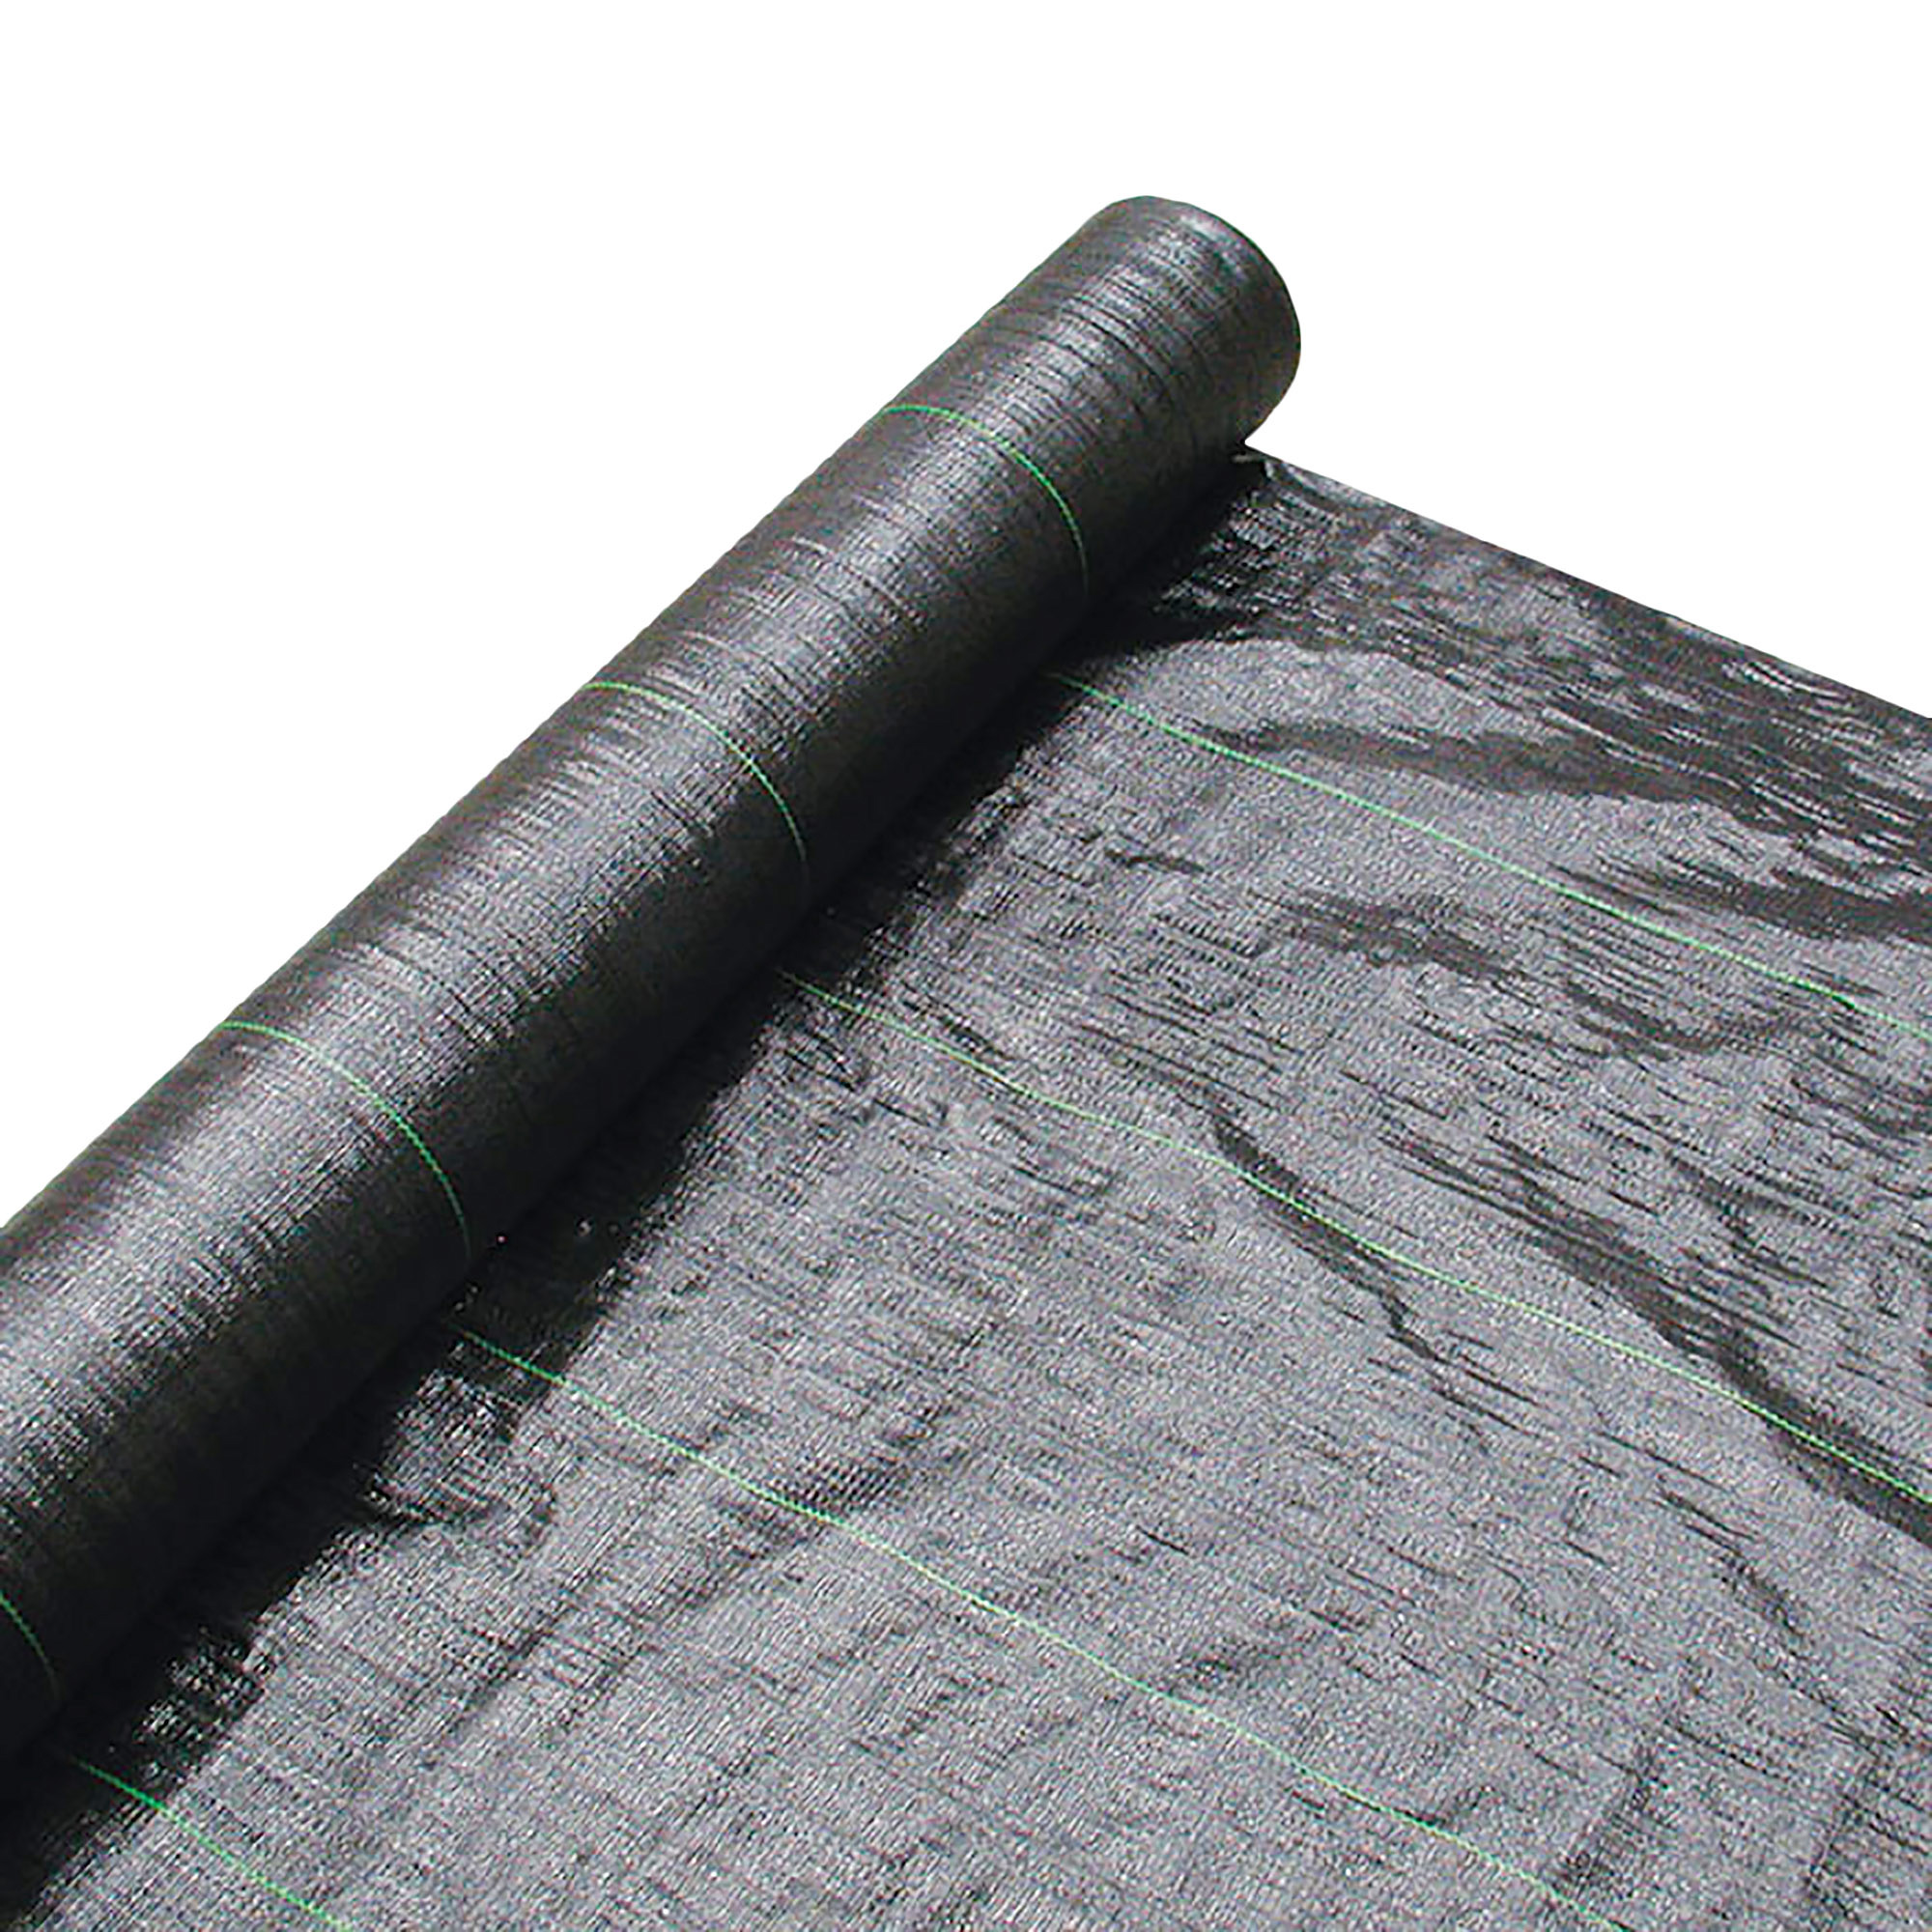
Landscaping fabric is easy to install and is a great solution to increase the life of your garden, paths, and other areas of your property you want to prevent weed growth. Though landscaping fabric is thought to be used only for gardens, you can use it on soil, stone, gravel, mulch, and much more, not only to prevent weeds from growing but to prevent stones from sinking and to create a barrier between surfaces. There are five steps to installing landscaping fabric, but let's check out what you need first.
Landscaping Fabric Materials
- Garden Hoe and Rake
- Utility Knife
- Hammer
- Landscape Fabric
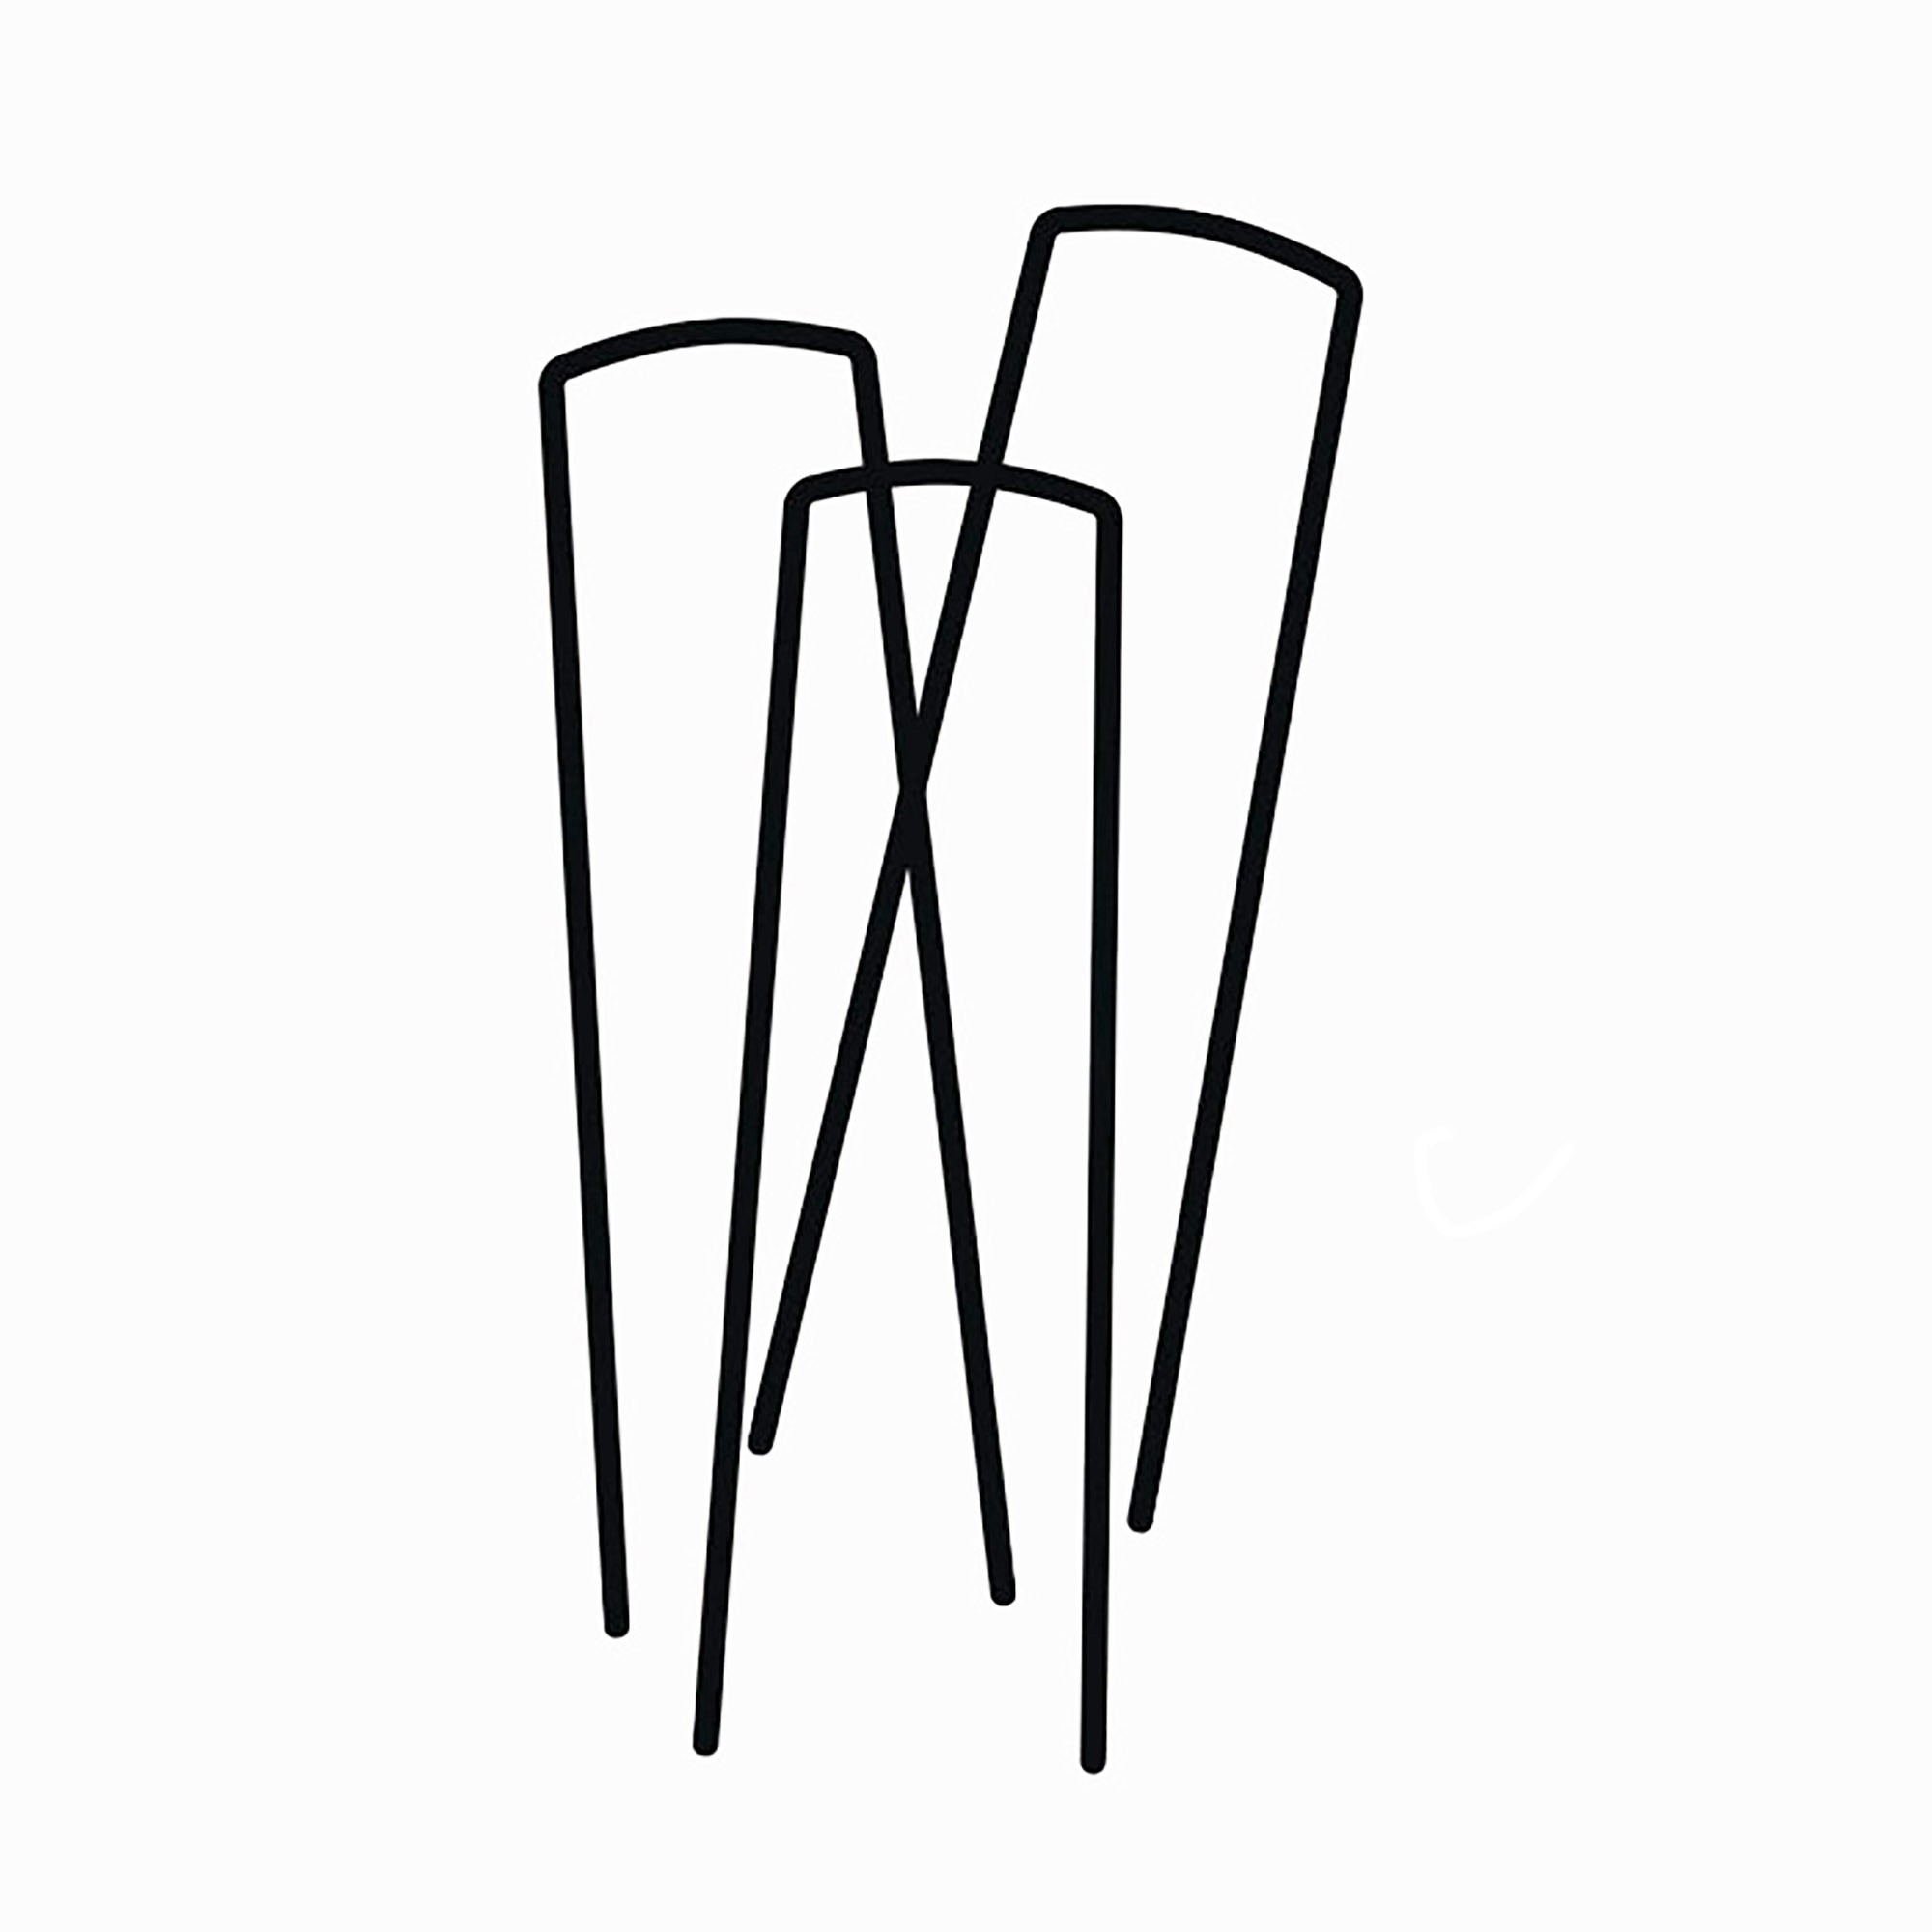
- Anchor Staples
- Optional* ground cover, plants, concrete…
Installing Landscape Fabric
1. Prepare the Area
Preparing the area includes removing existing weeds, raking out dead leaves, and removing rocks, sticks, and other things that may tear the landscape fabric. Once the area is clear of big and small obstacles, you will want to level the area, filling any holes. By clearing the area before, you ensure easy installation and limit the risk of complications with the fabric and soil below it.
2. Establish a Border and Measure
After prepping the area, you must decide what border you want. There are two kinds of borders: constructed and natural. Constructed includes fencing, building walls, or maybe a tree line. A natural border can be edged around the area, including stones, bricks, etc. Natural borders more or less refer to the border you will need to create because the area spans into the middle of the yard.
With the border estimated, you will want to measure and calculate the area of ground you want to lay the landscaping fabric. Taking this measurement will determine how much landscaping fabric you will need. Note that this fabric can be cut to shape and manipulated to cover any space.
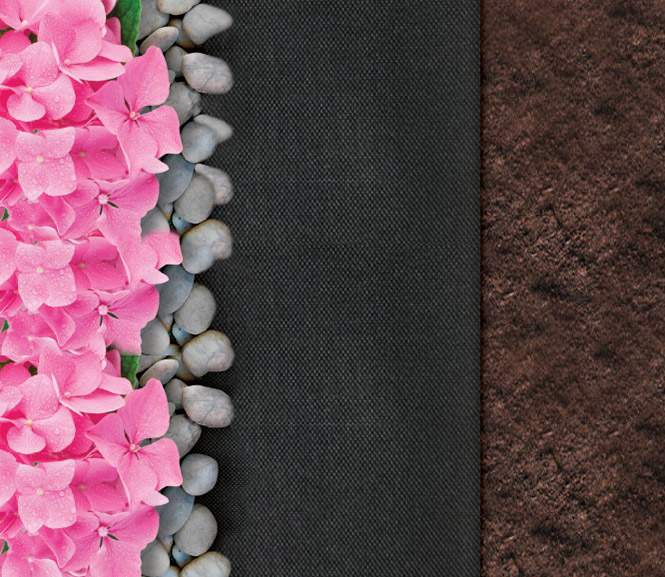
3. Lay the Landscape Fabric
If you have cleared, leveled, and established the border of the areas to be covered in landscape fabric, laying the fabric is the easiest part. Lay the fabric, fuzzy size down and shiny side up. Place your staples into the fabric to secure it to the ground. You will want to place these staples 1 to 2 inches inside the fabric's perimeter to prevent tearing and about every 1 to 3 feet.
Cut the fabric as needed at the boards or turns, and remember you can use scraps to cover smaller areas you may have missed. Overlap the fabric 4 to 6 inches when needed, considering how the covering material must be spread.
4. Lay the Border
Some may say to spread the ground covering material first, but a cleaner way to finish your garden or walkway is to lay or cut the border. Cut a thin trench or lay your landscaping rocks around the area, barely overlapping the fabric.
5. Spread the Material
With the fabric down and the border set, you can dump your ground covering material and spread to create a level bed. Whether you are laying mulch or stones, the landscaping fabric acts as a border between the soil and your material, protecting the material from weeds, uprooted rocks, and insects.
Congratulations! You have just learned how to lay landscaping fabric. Now, you can enjoy your yard, whether creating a beautiful garden, planting flowers along your property, or laying a walkway.
For more information like this, please explore our Resources Hub. For more information about the products we have to offer, reach out to our friendly sales representatives. They are happy to help in any way they can!
Contact Us
